Have you ever asked yourself the question?—how to draw a mermaid, and what are the necessary steps in creating one? Wonder no more because I will explain to you step by step in detail how to draw a mermaid in 10 easy steps! This tutorial will illustrate my drawing process and the steps to draw a mermaid. The goal is to teach you to draw a beautiful mermaid from start to finish.
For this tutorial, you will need a sheet of paper, a pencil, and an eraser. I like using mechanical pencils, bristol paper, and kneaded erasers. If you work better on a digital platform, you can follow these easy instructions the same. Get your pencils sharpened, and let us dive into this tutorial!
Before we draw anything, let us research other mermaid drawings on the internet and get inspired! Pinterest, Instagram, and Google are all great places for our subject matter, and since we are drawing a mermaid, these mythical creatures are half human and fish. We will need to be familiar with human and fish anatomy. Below is a link to my Pinterest inspiration board.
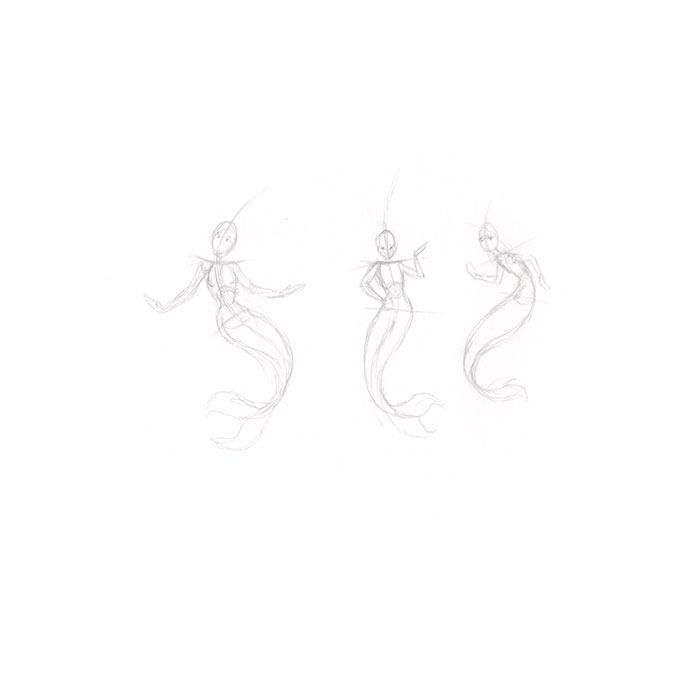
With our reference images, we can do a few rough thumbnail sketches. This step is crucial to loosen your hand and gain confidence. You can be as messy as you want in this step. There is no need to render any detail. We want to focus on the gesture and flow of your mermaid. In my example, you will notice the emphasis on action lines and contrapposto shift. You can also keep these sketches reasonably small too. I’ve created three samples, and for this tutorial, I will be referencing rough sketch “A” throughout this process.
Special note, If you are having trouble with this step, one of my favorite book references is “How to Draw Comics the Marvel Way.” This book is packed with insightful information about drawing. Another great way to learn is by taking a life drawing class. You can also look online—the internet has tons of free tutorials!
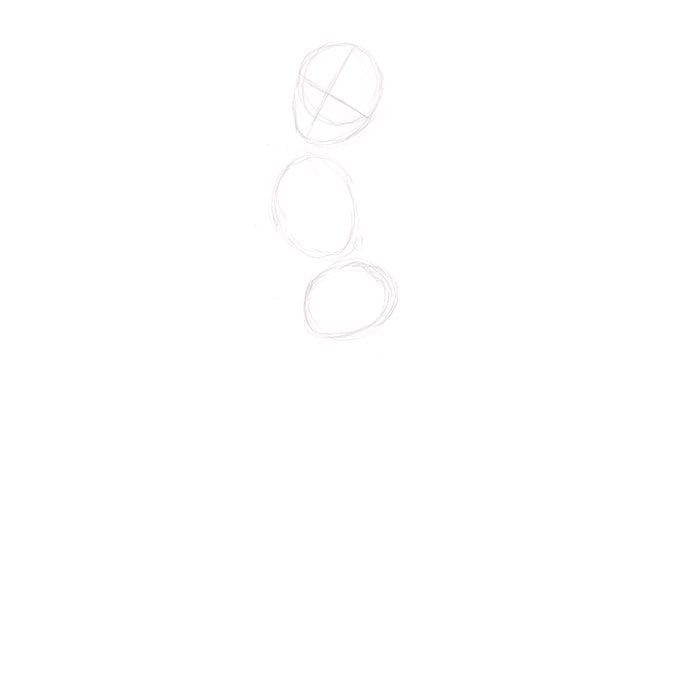
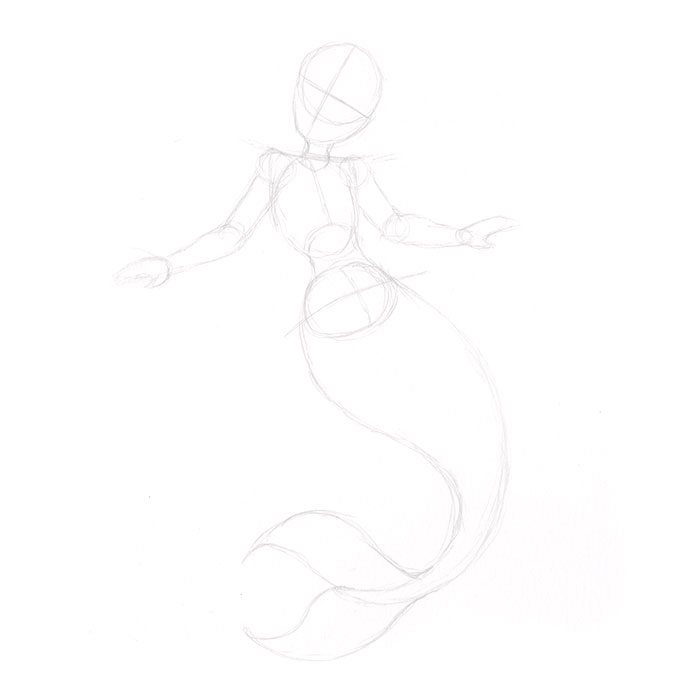
Now that we are warmed up—draw a rough circle for the head. Remember to keep your strokes loose and light. We do not want to press too hard on our pencils because we will erase our guides.

Once you have your circle placed on your paper, draw a cross at a slight angle. Follow that with a “U” shape for the jaw. Reassure the “U” shape follows the same direction as the cross.

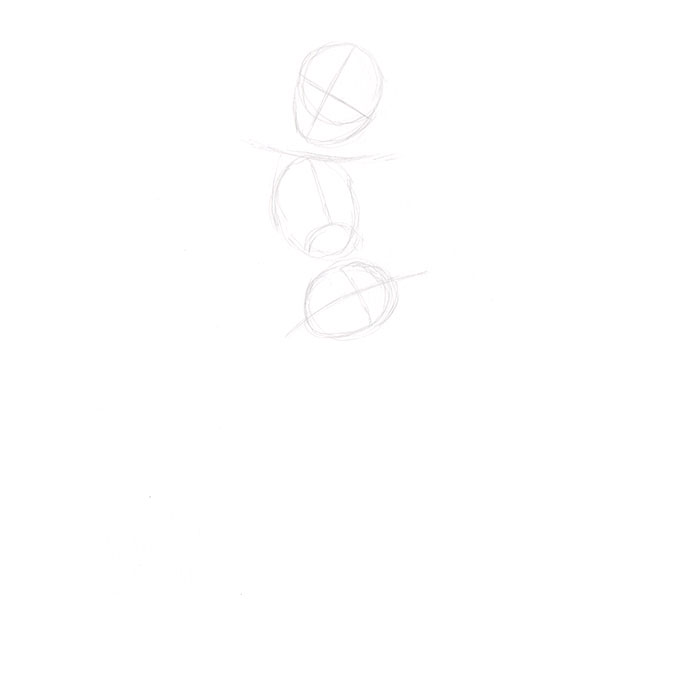
Draw two ovals for the torso and hip placement. We want to follow the flow and energy of our rough sketch study. Notice that the hips are more extensive than the rib cage. If you feel like your posture is too stiff, you can add an action line to reinforce the gesture of your mermaid.
Next, we will draw the center lines of the torso and hips. From there, we can add the lower rib cage line and a few contrapposto line shifts.
Draw the tail by using flowing “S” shapes that taper down.
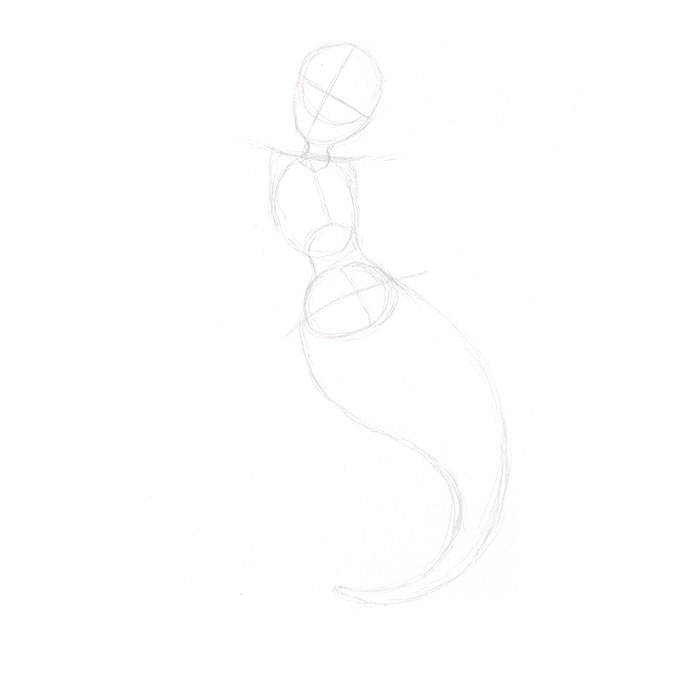
The arms can be broken into circles, cylinders, and mitten-like shapes. Use lines to help you with the length of your mermaid’s arms. Next, add flowing “S” lines for the mermaid’s tail fins.
Now add rough oval shapes for eyes and lips. Add a short curve for nose placement and divide the lip oval with a line. Helpful tip, the lower lip is a little thicker than the top.
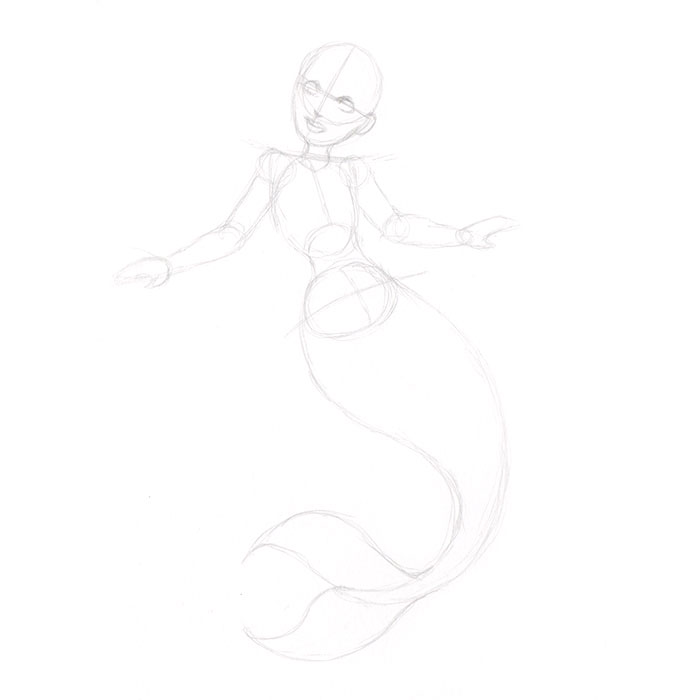
Block out the shape of the hair and breast. At this stage, your mermaid should resemble a mannequin. Remember to keep your drawing light. If you have problems drawing light lines, use a 2H pencil for your underdrawing.
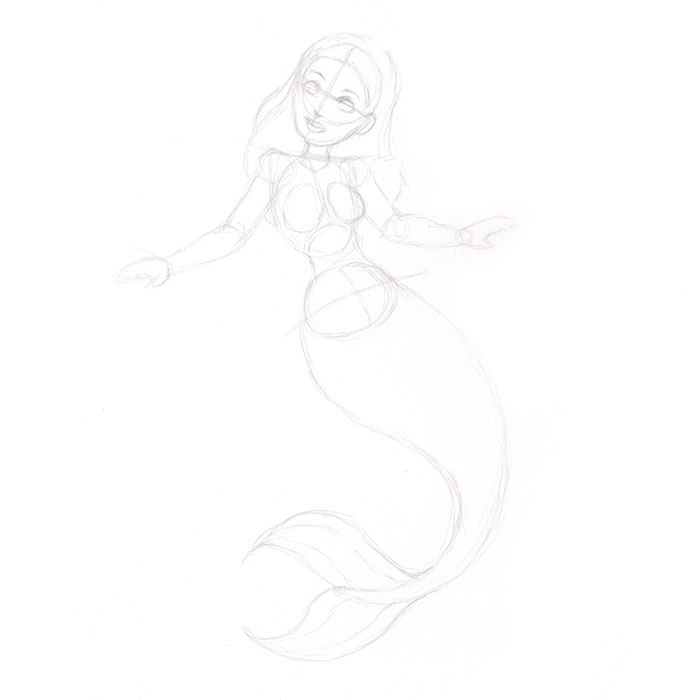
Now that we have our foundation, we can refine our shapes and add detail. Define the eyes, hands, and bra shell. Notice how the clean lines are bolder in contrast to the underdrawing.
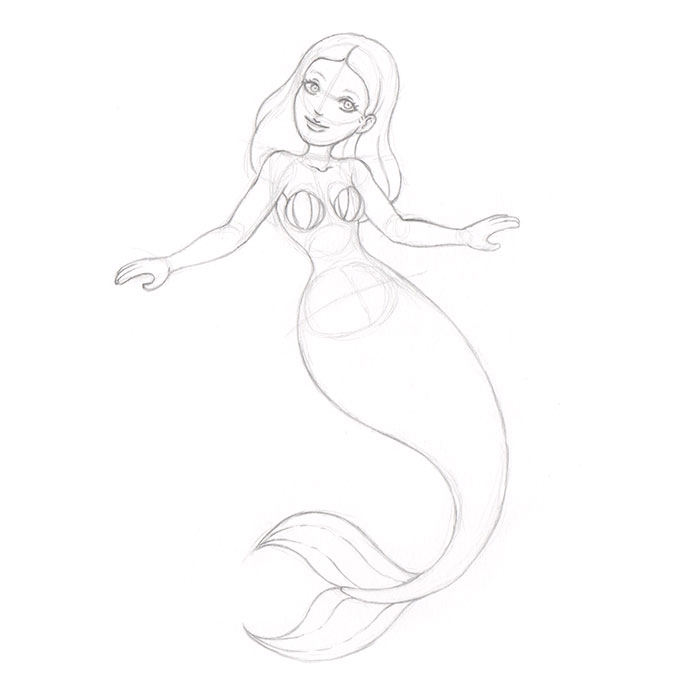
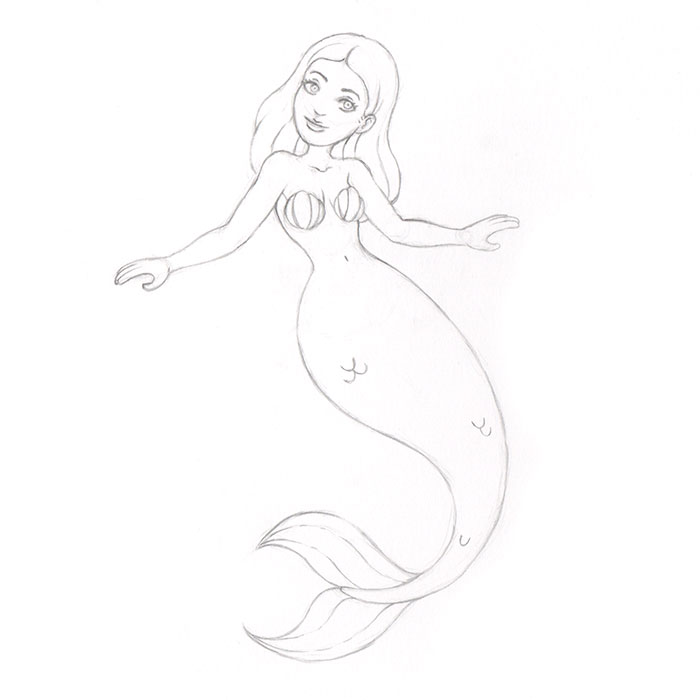
Erase all your unwanted lines. Keep refining your line art, and add a few fish scales for texture. At this stage, you have now completed your mermaid! If you wish to continue working on your drawing, the next step will explain some essential pencil shading tips.
Now that you have your line art—let us add some shadows and highlights! Follow what I did in the example, pick the left side of your image and add some pencil shading. When you do this, you might lose the definition of some of your strokes. If this occurs, add more line weight to that specific stroke. Remember to give your strokes smooth transitions—so they can blend in with the rest of your line art.
A helpful art trick that you can do is add an even tone of pencil shading all over the tail. Include some highlights—by removing the graphite with your eraser in the desired location. When you do this, you will achieve beautiful highlights. You can also use your eraser to clean up the light source in the mermaid’s hair.

I hope you enjoyed drawing this mermaid in 10 easy steps, and if you did the extra 11th step, you are terrific! Let me know if you need any additional help—feel free to use the comment section of this blog. I will do my best to clarify some of the steps for those who need help. If you like this tutorial and want more step-by-step instructions like this. Let me know! I can be reached via my contact page. You can support this site by donating to my Ko-fi page. Any small contribution to my Ko-fi page will be much appreciated!
